

Smule rolled out a couple new features during the last weeks and as usual, iOS users get to use them first. But those features are also confusing many Smule users. So, this article explains how they work.
New song parts – Listening
The ability to separate songs into different parts (e.g. intro, verse, chorus …) has existed for some time and is used to assign audio and video effects in the Style Studio app. But now these song parts are also shown on the Smule app itself. You see them as color stripes at the bottom of the player window.
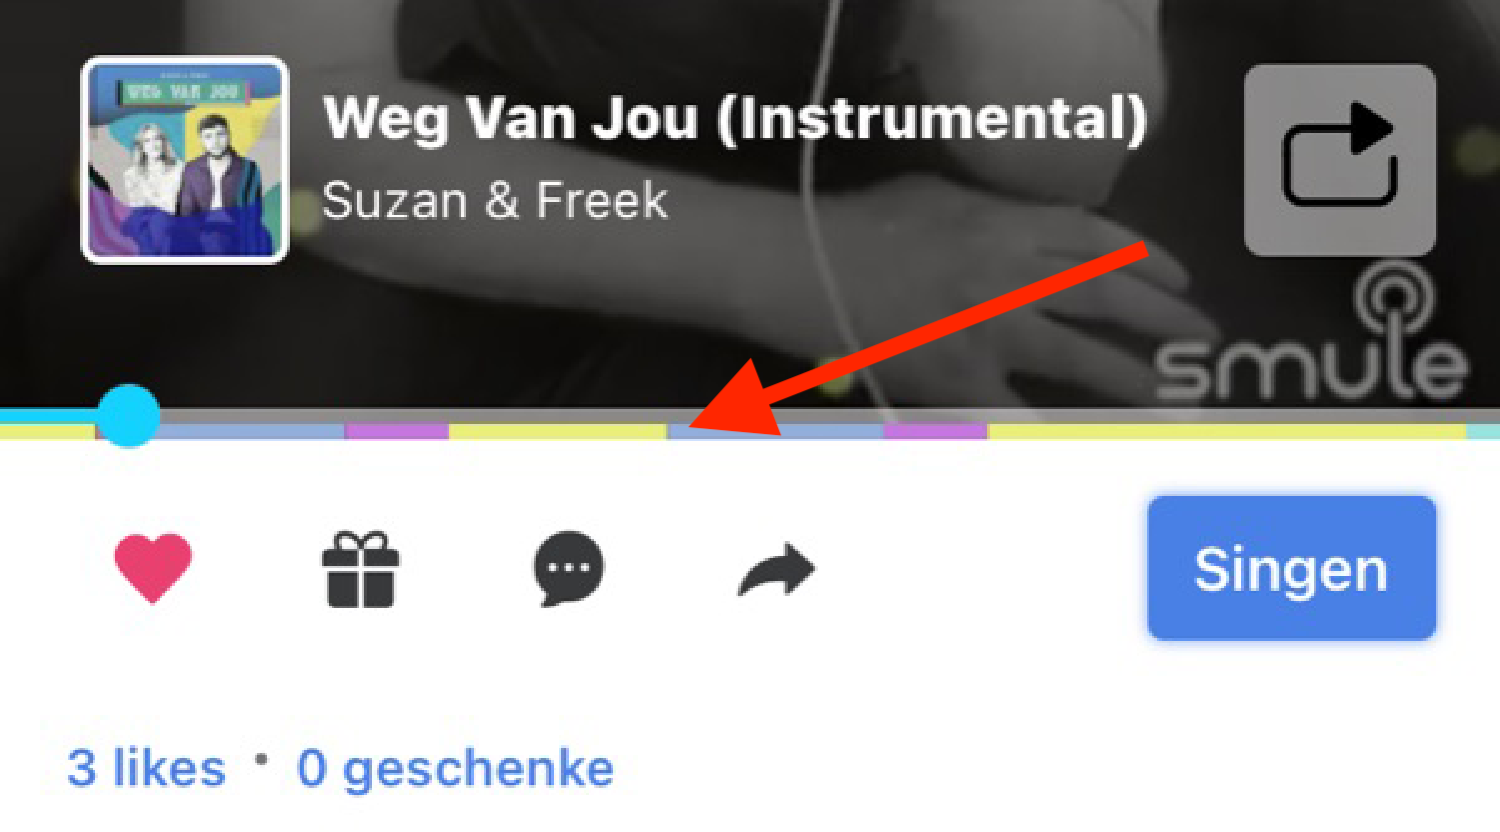
You can use the color coding do directly jump to the chorus for example. Smule also has a feature to just play one part continuously, which might be active without users actually wanting it. To change the behaviour and to toggle between playing everything or just a single part, press this button:
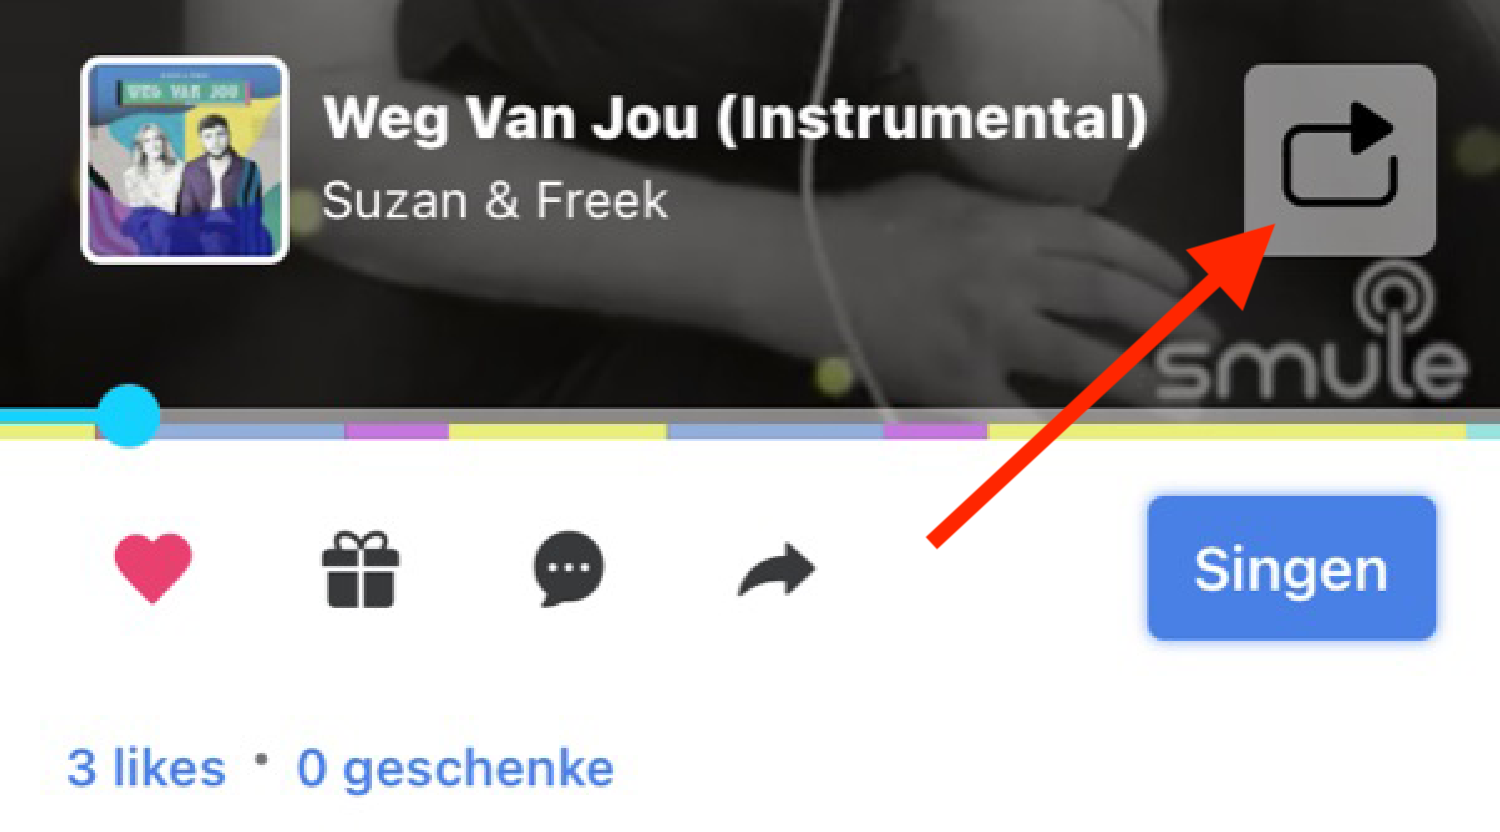
Smule will remember the setting you chose for other songs you open.
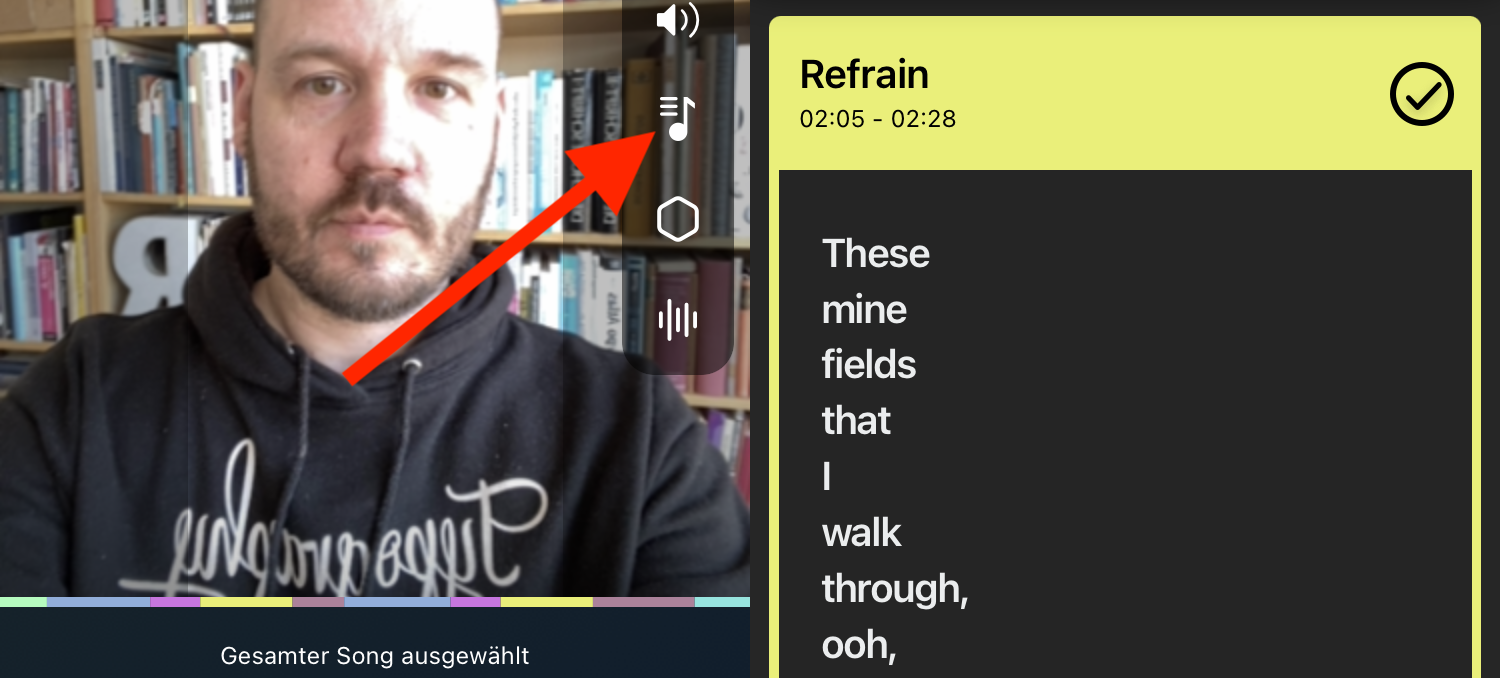
New song parts – Joining. (“Moments”)
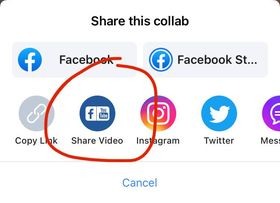
The new song separation can also be used to only join parts of a song. Smule calls this “Moments” now. When you start joining a song and you see a note with three stripes before joining, you can click it and swipe left or right to select just a part of a song. This works for both audio and video joins. Group collabs are also supported, but the OC itself must cover the entire song.
New Snap Filters
Smule now also makes “Face FX” filters available, which are provided in partnership with Snap, the company behind Snapchat. These filters are not an option you can use for all joins or OCs. They are tied to certain styles. But you can easily recognize styles with face filters, since the Snapchat ghost symbol will appear once you selected a style that contains face filters.
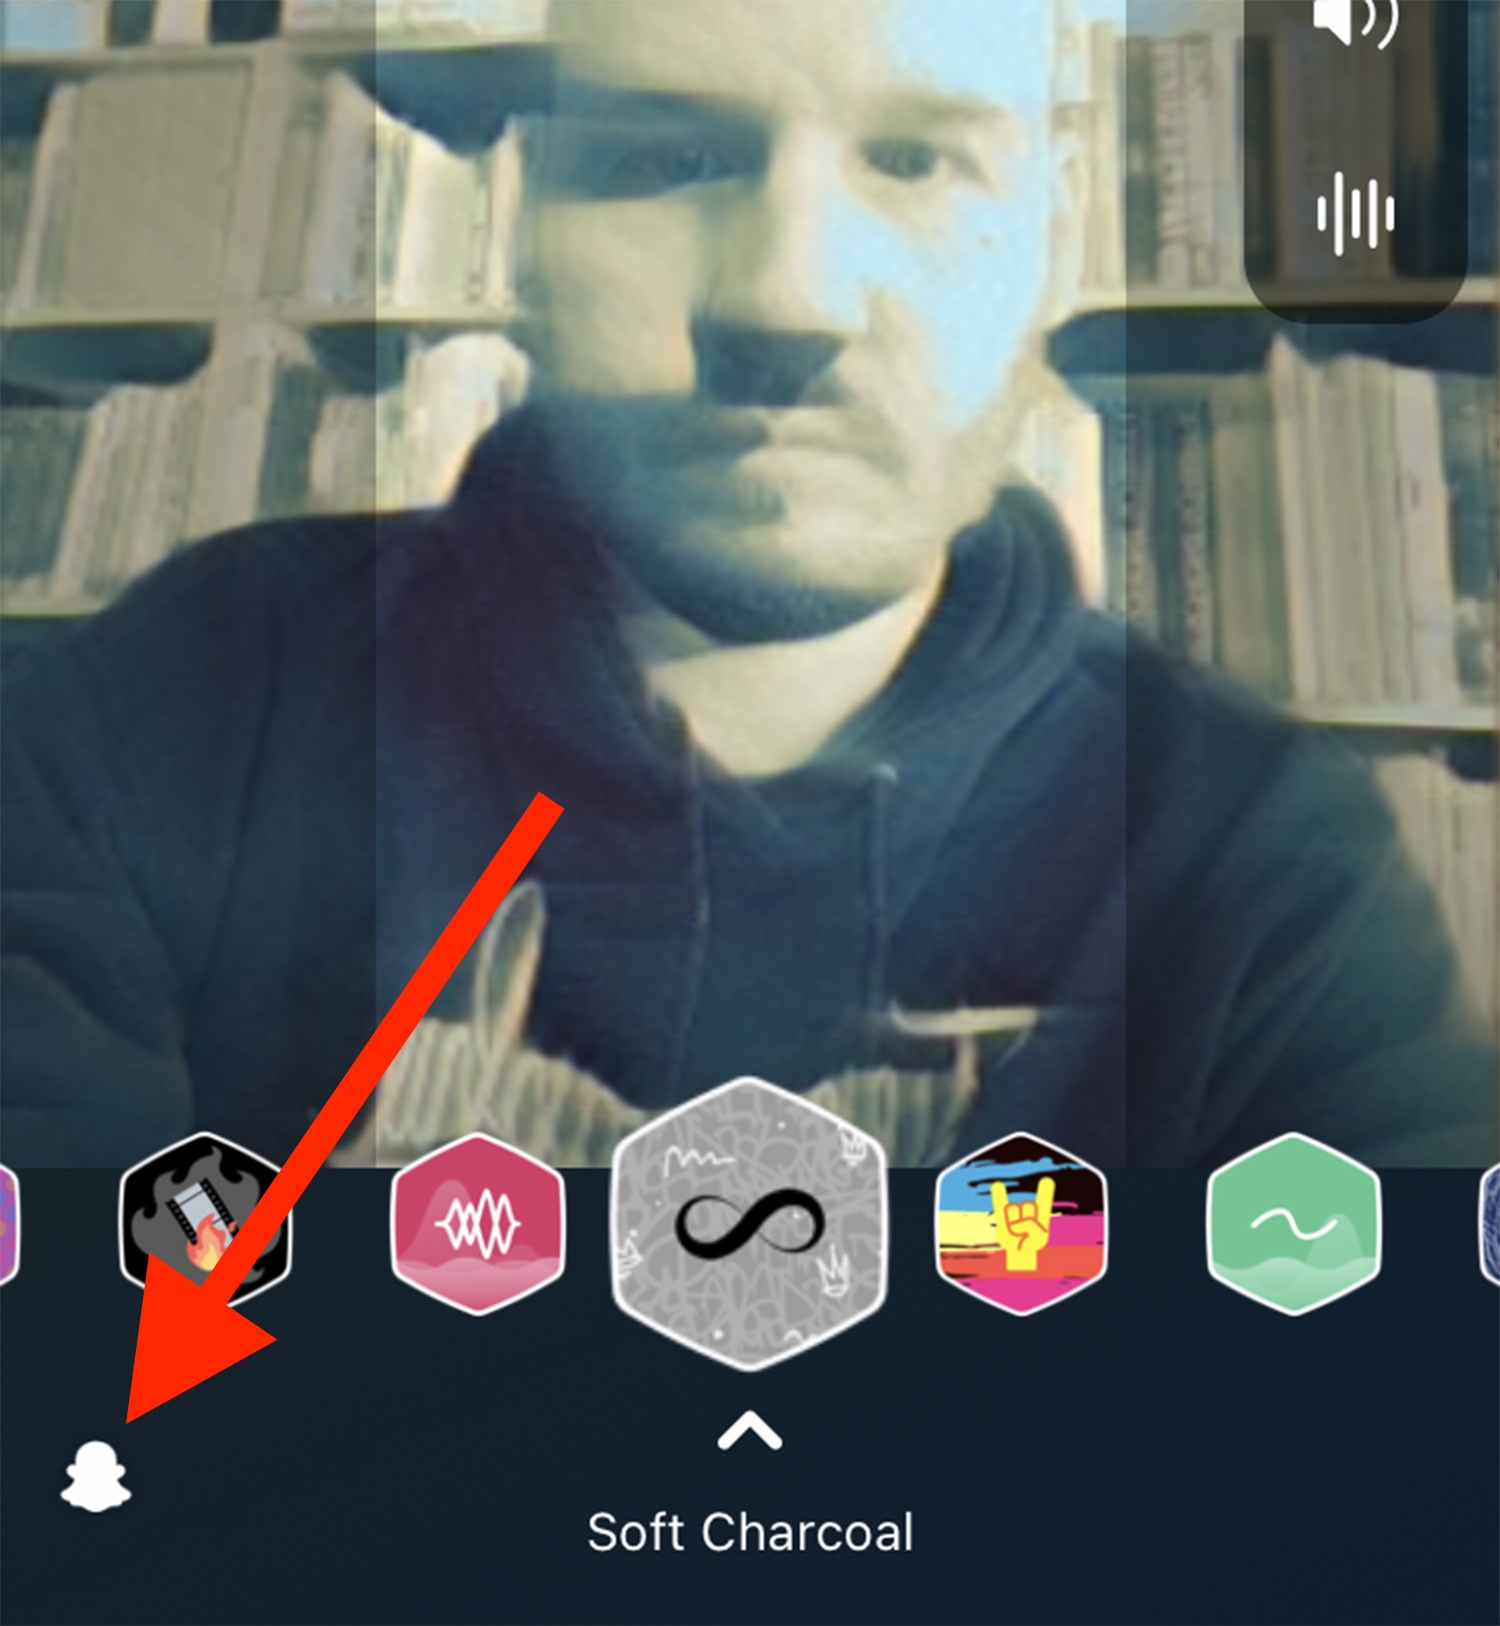
Depending on the filter, there can be more options for the face filters within the style. Just like on Snapchat, these filters are dynamically applied to your face, not just the entire video. Keep in mind that these filters have to be chosen in advance. You won’t be able to turn them off or switch to a different style on the review screen.

-
 1
1


Recommended Comments
Create an account or sign in to comment
You need to be a member in order to leave a comment
Create an account
Sign up for a new account in our community. It's easy!
Register a new accountSign in
Already have an account? Sign in here.
Sign In Now