Jump to content
  • Smule just launched a new feature on the app called “gifts” and with that a new payment options called “coins”. As Smule puts it, “Gifts are the newest, most expressive way to show your appreciation for the performances you love”. 

    Gifts are essentially animated little stickers you can send to someone if you like their performance and you can also add a personal message along with most gifts. The feature is more personal and more prominent than the previous options of liking and commenting songs. While like and comments are public and can be left by anyone, gifts are a paid and personal option. While performances show the number of received gifts, the gift itself, the people giving them and their messages are only visible for the singers receiving the gifts. For this a new tab on the Activity section of the app was added. 

    To send most gifts you need to buy coins in advance. Coins are essentially a virtual currency that only exists within the Smule service. The gift prices vary greatly, so one can spend a few cents per gift or well over US$ 40 for the most expensive one. Smule makes it clear in their terms of service that the coins are not a real currency. The purchase of coins is not refundable, the value of the coins may change at any time and the coin service might be changed or stopped. But the coin service is probably here to stay and could easily be extended to other features like paid video/audio filters.  
    Currently Smule hasn’t officially announce the gift service or updated their help and FAQ sections with more details. We will extend this article when more information emerges. 
    Feel free to comment below to tell us how you like the new feature. 

    While going live on Smule you can now apply real-time video effects, which change your appearance in ways you might know from apps like Snapchat. 
    In Smule the feature is called Live Looks and it can be accessed in LiveJams through the filters button in the bottom left corner. At the moment 16 different effects can be used. A few are shown below. 

    In addition, Smule also improved the appearance of LiveJams in the app. Instead of just showing a single profile image, both current participants are shown along with a still from the live performance. 

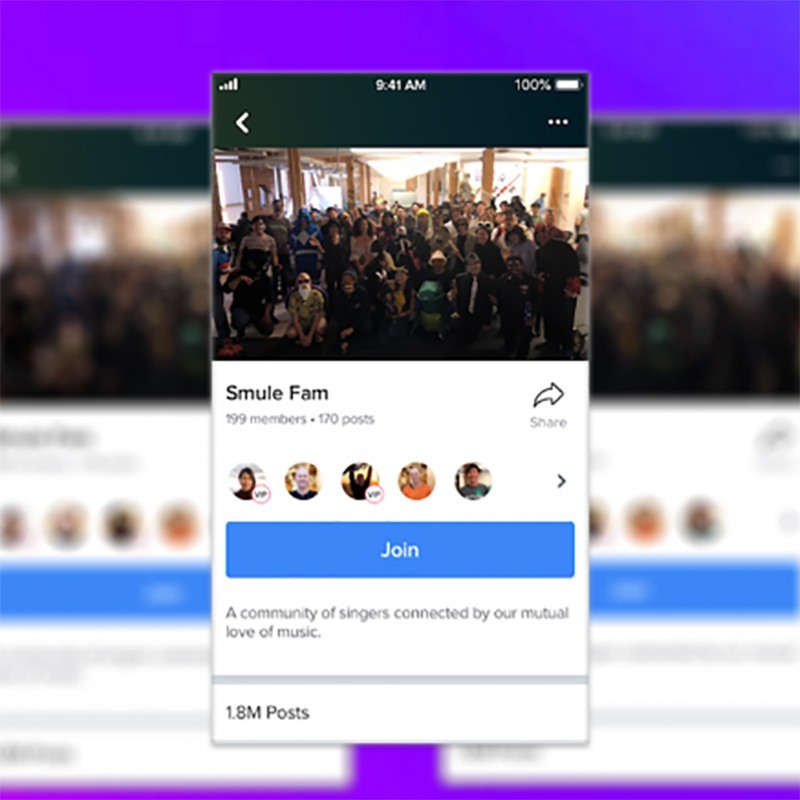
    Smule singers have been creating groups since the app exists, but there was never any direct support for it in the app. People had to use hashtags to connect their accounts or songs to a group or set up additional Smule accounts, which was difficult to handle, since account switching is also not a feature currently. 
    But handling groups just go a lot easier, since there is now a dedicated feature for it in the app. It is available in the iOS version and on the website. In the Explore tab of Smule on iOS you can browse through new groups. If you hit the plus button there, you can create your own groups. 

    Groups can contain up to 1000 members and each Smule user can create up to 3 groups.  The creator of the group is the “owner” and each group can only have one owner, who has administrator privileges. 

    Groups are always public, but you can decide if people can request to join (with or without automatic approval) or whether the group will be invite-only. Once Smule users are part of a group, this will also be shown on their profile and the groups can be accessed from there. The group page shows the members and “posts”. These posts can currently only be songs, both published collabs and open calls. All members of the group can post. 
    Sing.Salon Insights is a tool which generates statistics for your account or other singer’s Smule accounts. Feel free to try it out here: https://sing.salon/insights/ 
    Just add a Smule user name and click the button to generate the statistics. 

    At the moment the tool will:
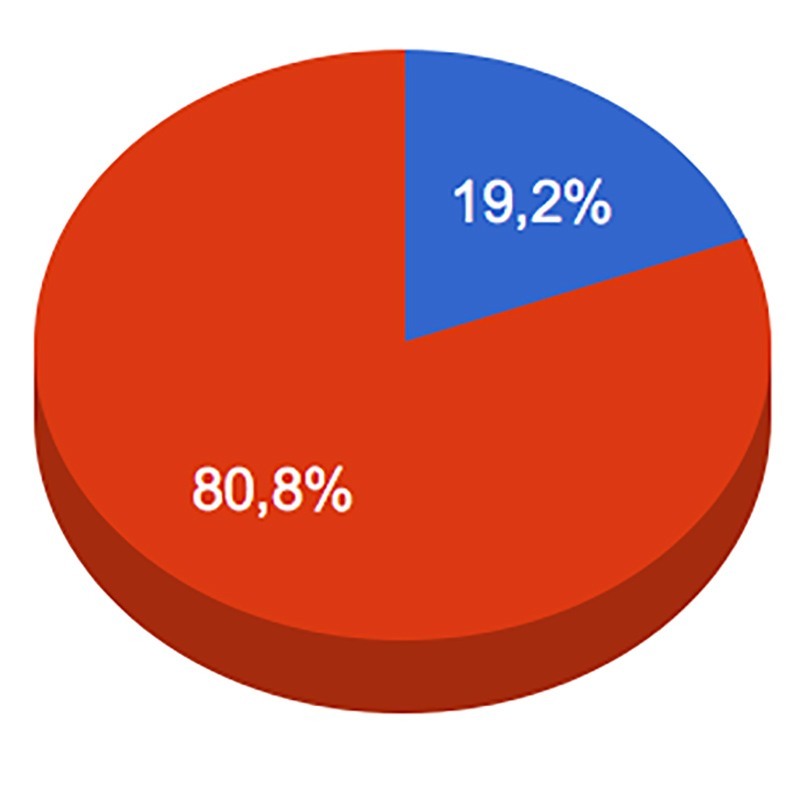
    Show the user’s most viewed/loved/commented FAVs and play them directly in the browser show pie charts for the type of songs created (audio/video, solo/duet/group) show the partner artists someone joins show who’s join someone likes to FAV show who someone likes to join
    It’s a convenient way to find great collabs and good singers without having to scroll through hundreds of songs. Just let this tool show you popular songs and people someone likes to sing with.
    https://sing.salon/insights/
    Now you create collabs with other Smule singers in real time. As usual the feature is first rolled out to iOS users, but it will come to Android as well. And watching and commenting is open to everyone through the website. 

    So how does it work?
    To start a LiveJam, you can either use the banner link in the iOS app or the links in your feed tab or profile tab. You can apply video filters as with OCs and you can either talk or start a song at any time by clicking the Mic button. You can invite people to join the LiveJam or people seeing your LiveJam can request to join. If the LiveJam is public, everyone is free to watch the live performance and to comment or react. 

    Have a look at some LiveJams taking place right now here:
    https://www.smule.com/live/list
    Feel free to tell us in the forums what you think about it:
    https://sing.salon/forums/topic/605-do-you-use-livejams-yet/
     
    For years, Smule has been working fine with analog headsets, but lacked proper support for external third-party hardware connected via Bluetooth or the lightning port of iOS devices. The latest 6.4.9 update improves that. 
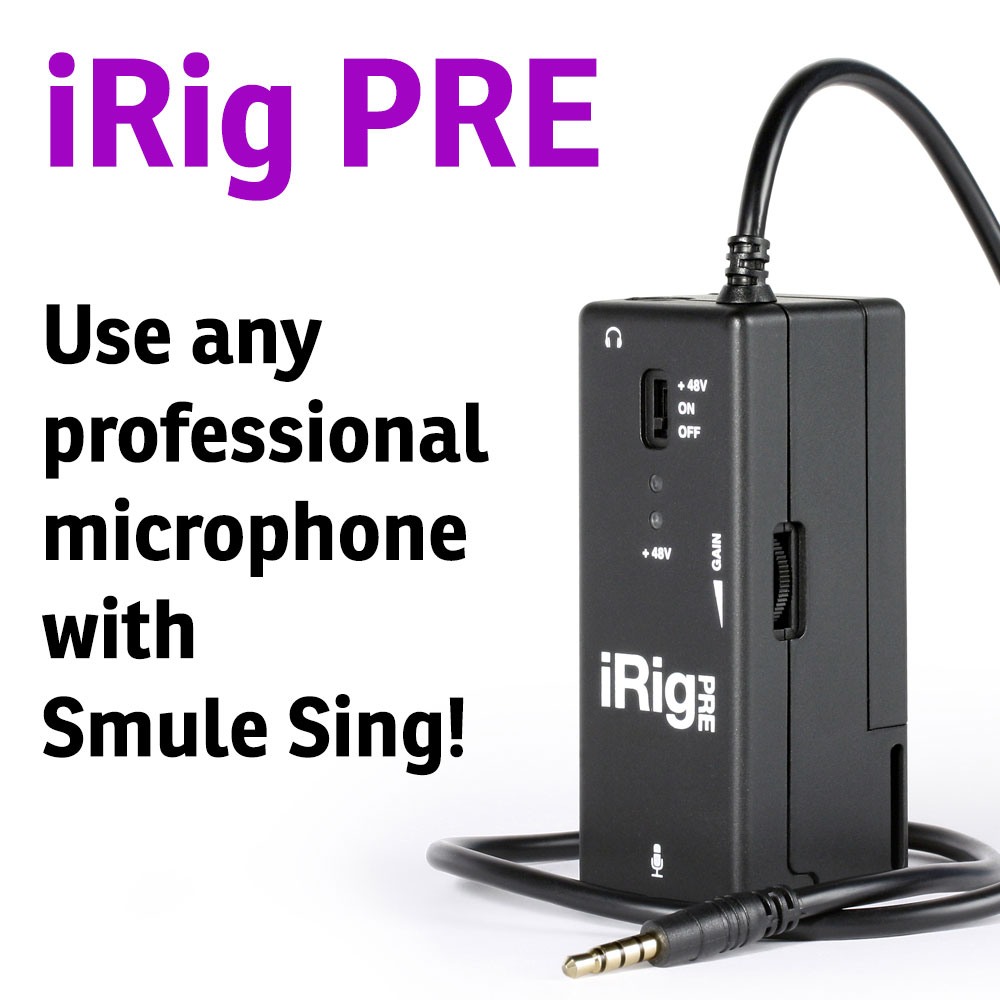
    You can now connect Lightning/USB microphones and audio interfaces to your iOS device without routing the audio through other apps like GarageBand first. This kind of hardware is now natively supported and you also get proper monitoring this way. 
    In addition, the support for Bluetooth headphones/headsets was improved. This is especially usefully for recent iOS devices, which come without a headphone jack. Note that this improvement only covers listening to Smule performances. There is still no official support to record from Bluetooth devices. 
    After starting out with simple headsets, many Smule singers invest in better microphones later — often even expensive professional microphones normally used by singers on stage or in music studios. But as karaoke singer without professional training or a background in sound engineering it’s easy to make mistakes in this area. 

    Handheld microphones are usually very easy to use—whether you buy consumers microphones like the ones from IK Multimedia’s iRig line or professional stage mics like the famous Shure SM58. 
    But studio vocal mics are a different category. Studio microphones are usually highly sensitive condenser mics. I’ve seen Smule singers holding them in their hand, but you really shouldn’t do that. The microphone will pick up the slightest, almost unavoidable movements of your hands or the rustling when the microphone cable touches something or moves over the floor. And speaking of the floor: Studio mics will easily pick up vibrations of the floor or unwanted sounds transmitted through the floor. That’s why studio vocal mics usually hang in shock-mount cradle. It removes the hard physical connection of the microphone to the floor through the stand. Keep that in mind when ordering a studio condenser mic for your Smule singing. You might look out for bundles, which are often available. The usually contain a full kit with the microphone you choose, a stand, a cradle, and a pop filter—all working together perfectly without you having to worry about fitting connections for all the parts. 

    Example of a vocal kit with microphone, pop filter, cradle and stand. 
    And speaking of pop filters: With a handheld consumer or stage mic, a pop filter might not be necessary and look like you just want to appear professional somehow. But you will need a pop filter for your sensitive studio condenser mic. Popping sounds occur particularly in the pronunciation of aspirated plosives (such as the first “p” in the English word “popping”). Pop filters are designed to attenuate the energy (i.e. air pressure) of the plosive, which otherwise makes the sounds too loud or might even exceed the input capacity of the microphone, leading to clipping. 
    You are probably too close—positioning your studio mic
    But how do we place the pop filter and ourselves in front of the microphone? This questions leads us to the most important tip of the article and the most typical mistake karaoke singers make. Distance is crucial! We all have seen musicians on stage thousands of times, being extremely close to their mic. So they can’t be doing it all wrong, can they? They don’t, but that’s a stage setting, not a studio setting! There are several reasons why being too close to your mic is bad in a studio setting. 
    Proximity effect
    Directional or cardioid microphone have a so-called proximity effect. The closer you get to them, the stronger is the low frequency response. That might be great for a movie trailer narration or a radio show, but it usually bad for singing, since it’s just an unnatural sound. For a more natural sound, you have to stay away from your studio mic far enough. 
    Consistent volume
    If you are very close to a microphone, the slightest movements of your head can result in significant volume changes. If you move away from your mic, this effect gets smaller and smaller. Note that this does not mean your overall singing volume is lowered. You will compensate for the distance by raising the gain of your microphone. 
    Recording multiple audio sources
    If you want to record multiple audio sources—e.g. several singers or a singer with an accoustic instrument—you will also need enough distance. Don’t worry! While this wouldn’t work well with your Apple EarBuds or other headsets, professional mics are made for this. Even a distance of 40 inch (1 meter) should be no problem to record yourself and your guitar for example. Just point the mic in the general direction of all audio sources and adjust the gain as necessary. 
    The visual appearance
    Many Smule singers who use studio mics and pop filters place them between themselves and the camera. As a result, they hide most of their face behind the pop filter. Well, if you are shy and want it this way, go ahead. But don’t think you have to do that for a good sound. In fact, I made Smule recordings where my condenser mic and pop filter aren’t even visible in the frame. You can move the mic away and place it to the side, so your face is still visible. You might even place it behind the camera or below the camera outside of the camera frame, which is what I often do. You just need to find the right angle, so the microphone pics up your voice. You don’t need to be very close and you shouldn’t be very close. 
    Finding the right distance and direction
    There isn’t a specific distance you should use. You need to try it out and it can depend on the mic you use, your singing style and even the specific song. But as a rule of thumb, start with a distance of 8 to 10 inches (20–25 cm) between your mouth and the microphone or make a fist with both hands and put them both between you and the mic. A good place for the pop filter would be right in the middle—at least in case you can keep your distance to the microphone. If you get closer and closer to the pop filter while singing, move it further away from the mic and use it as a barrier, which forces you to keep your distance from the mic. 

    A studio setup with a Røde NT1-A
    Also, make sure you point the mic in the right direction. As you probably know, the sensitivity of a microphone to sound might not be equal in all directions. This is called the polar pattern. If we want to record a singer on stage with sounds coming from other instruments, the monitoring system and the audience, we need a directional polar pattern to only pick up the singers voice. Such microphones usually have a cardioid polar pattern are directed towards the singer. Studio vocal microphones on the other hand can have various polar patterns and will often be placed upright and the vocals come from an angle of up to 90 degrees. So make sure to place the mic correctly. Usually it is possible to tell from the casing of the microphone where the voice should come from. 

    Stage condenser mic (Røde M2) vs. studio mic (MXL 990)